September 2005 Featured Collection
|
Fire Hydrants
|
||
|
|
||
|
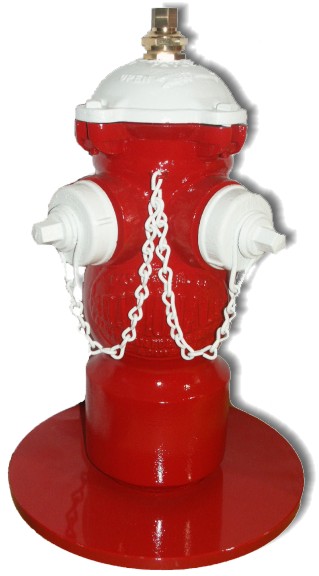
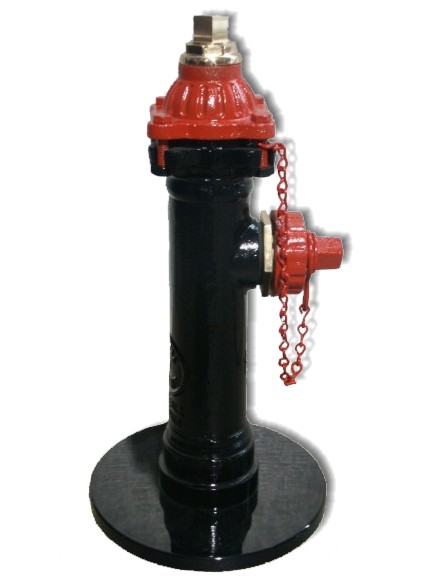
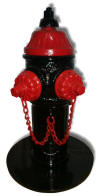
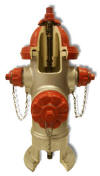
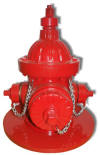
Displayed above is a sampling of fire hydrants and salesmen samples from our collection. It is not exactly known when fire hydrants were first invented or who specifically invented them. Basically, it has been a work in progress since the late 1600's. It was not until 1801 that the fire hydrant that sticks out of the ground came about. These type of hydrants were drilled into the wooden water mains of their time. Eventually the wood water mains were replaced by the cast iron mains of today. When looking at a typical fire hydrant you may notice four main things about it. First it looks like a large pipe sticking out of the ground, this is the 'barrel' of the hydrant. The second thing you may notice is that it has 1, 2, 3, or more outlets sticking out of the barrel. These outlets are where the fire fighters attach their hoses. Third, is the top 'hat' or the bonnet. The last major feature of the hydrant is the large bolt that sticks out of the top, this is called the valve stem. This is how the fire fighters turn the water on and off. Except in warm climates, the water does not run up into the hydrant, it stays down in the main. This is done to prevent the water that would be in the hydrant from freezing. This valve stem runs down the barrel and under the ground into a valve that is directly above the water main, when the bolt is turned the water flows into the hydrant. You may have also noticed that the valve stem and the outlet covers are not standard wrench shape. They are made in a pentagonal shape (five sides). This is a tamper feature that tries to keep people other than fire fighters, who have special wrenches, from opening the hydrants. All of these hydrants were restored by our in house restoration team. When an un-restored fire hydrant comes in, the first thing our restoration team does is cut off the pipe that connected the hydrant to the water main. The next step includes disassembling the unit, every nut and bolt is undone and every chain is unlinked. This is so the unit can be properly sandblasted. After all of the old paint and rust is removed by the sandblasting, the unit is primed, painted and reassembled. In addition to these steps, all of our units are mounted on to a three-quarter inch piece of steel for stability.
|
||
 |
 |
 |
|
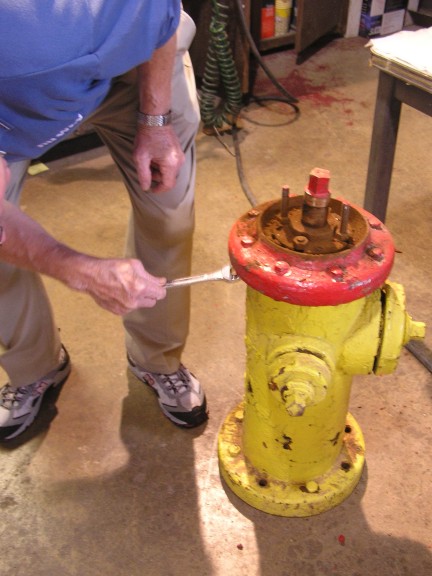
What a hydrant looks like before the restoration
|
The hydrant is inspected and
fully disassembled
|
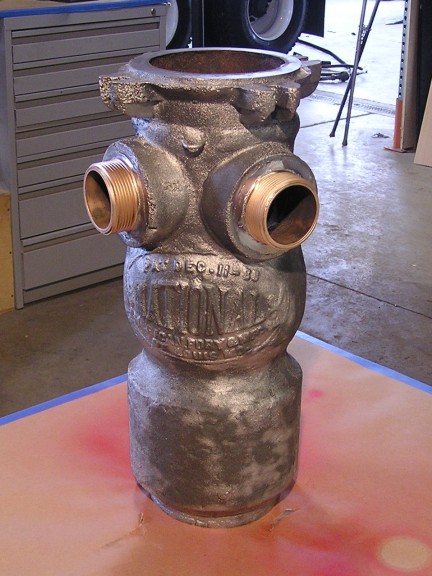
All paint is removed and then
the hydrant is sandblasted
|
 |
 |
 |
|
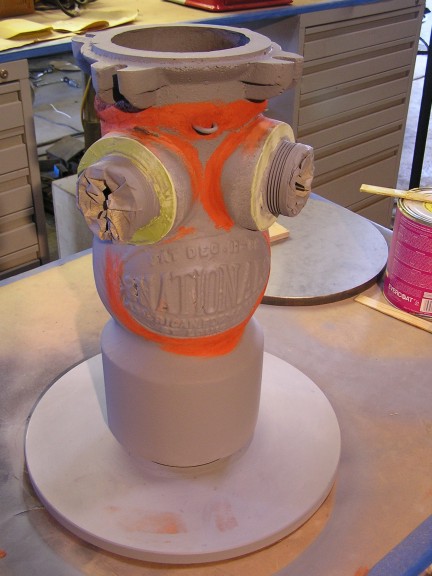
All parts are primed and filled with body filler
|
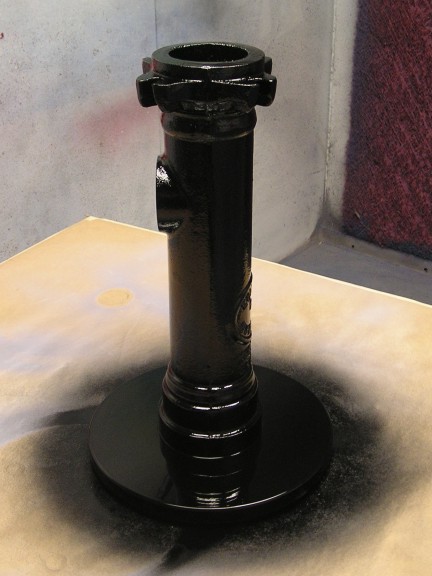
Next the hydrant is painted
|
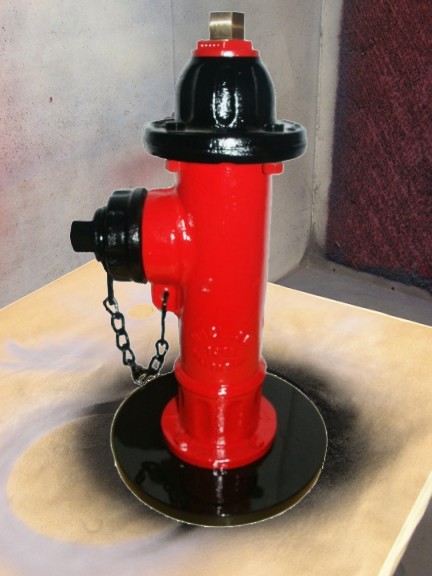
Finally the
hydrant is assembled
|
|
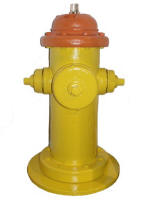
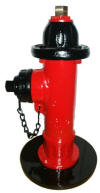
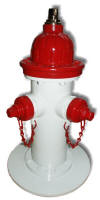
Click on the fire hydrants below to find out more information about that specific hydrant. |
||
|
|
|
|
|
|
|
|
|
|
|
|
|
 |
 |
|
|
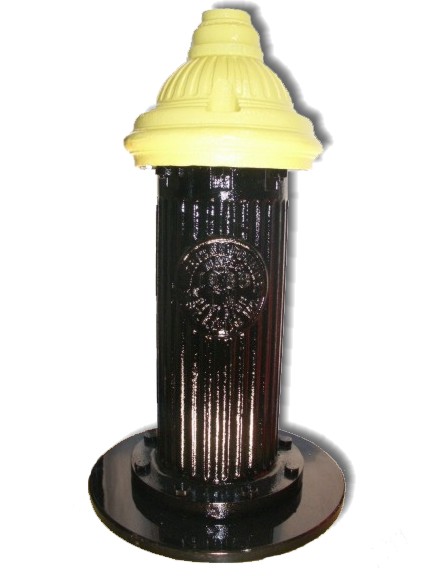
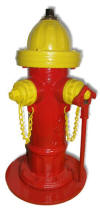
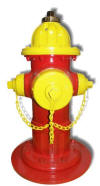
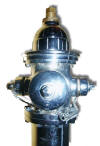
These two fire hydrants are salesman samples, miniature versions of the real thing, with cut away sides. Rather than carry a full sized hydrant that might weigh a hundred or two pounds, the salesman easily carries a sample that only weighs about 4 pounds. The cut away sides allows the salesman to demonstrate how the hydrant operates |
 |
|
|
A great site to visit for
all the best information on fire hydrants is
www.firehydrant.org
|
|