|
Completed
ProjectTwo Sided Neon Bowling Pin Sign
Watch as volunteer
restoration specialist Cal Weldele meticulously restores this old rusty sign
into a beautiful piece of artwork.
Click on thumbnail for larger
image |
|
 |
 |
|
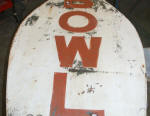
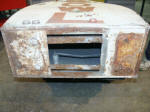
Before starting the restoration, the
sign was full of rust, the paint was peeling off, and it lacked neon.
The first step for the restoration team is to measure all of the lettering
and stripes, so it is re-painted in the proper place. |
|
 |
 |
|
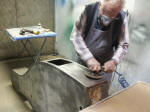
Then the sign is measured for
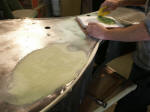
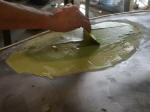
neon. The next step is to sand off all of the old paint and rust.
|
|
 |
 |
|
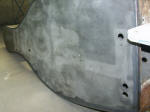
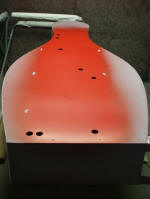
Any dents, dings,
and holes are filled and sanded smooth.
|
 |
 |
|
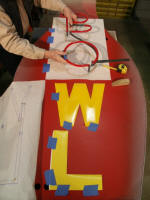
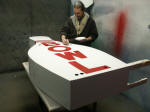
Red paint is added where the "BOWL"
letters and double stripe will be seen. Then vinyl stickers are
attached in preparation for the white paint. |
 |
 |
|
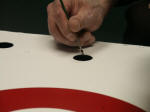
The sign is painted white, and the
vinyl stickers are removed, reveling the red paint beneath. Any
touchups needed are done by hand, like this one around the neon tubing hole.
Then a clear coat is added for extra shine. |
 |
 |
|
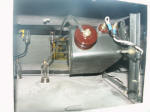
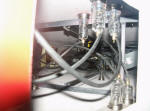
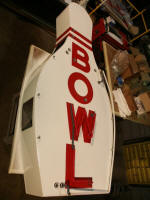
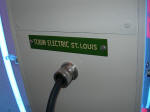
Transformers, glass housings, and
wiring are added to the inside of the sign, away from sight.
|
 |
 |
|
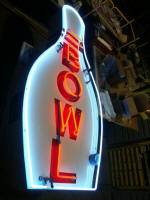
The neon pieces are installed. What
a drastic difference the neon makes.
|
 |
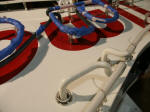 |
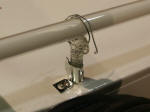
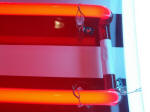
Tube supports are screwed to the sign
and tied to the neon. Some neon tubes are painted with
Block-Out to give the neon a uniform look.
|
 |
 |
|
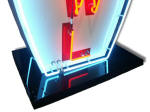
The Block-Out is then
painted to match the rest of the sign. Finally, neon is added to the
other side of the sign and a heavy duty base is built, painted, and attached
so the sign can stand on its own.
|
|
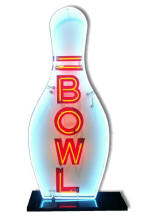
The Finished Sign |
|
 |
|
Click here to
find out more information about this sign |
|
Click here to return Home |